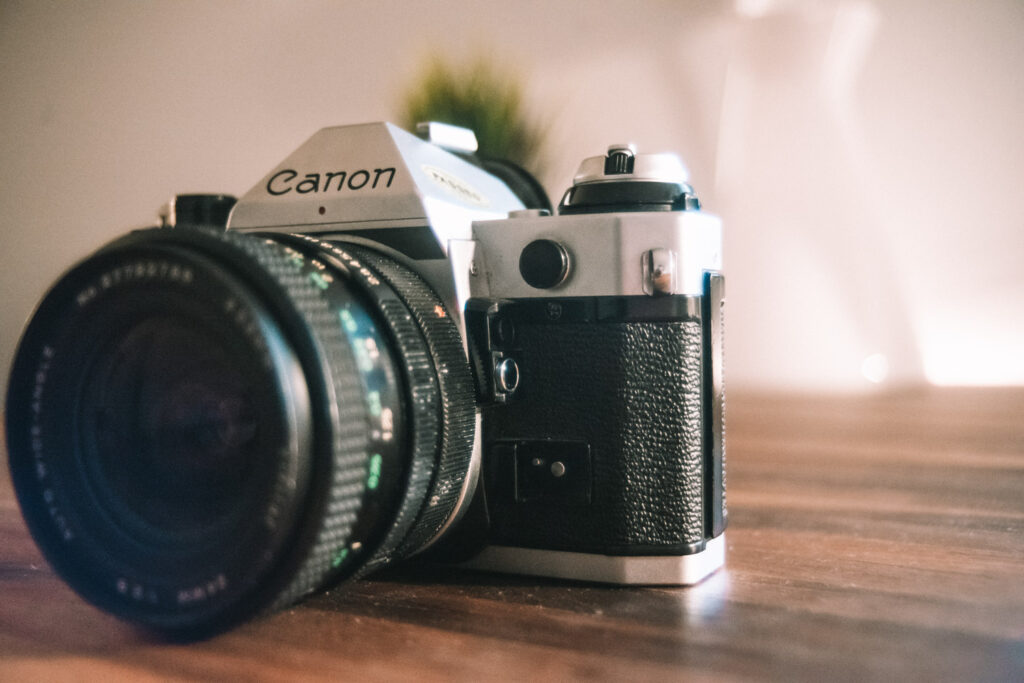
The Canon AE-1 Program is probably one of the most popular film cameras ever made. It was launched in 1981 as the successor of the Canon AE-1. What distinguished both cameras was the added AE Program mode which sets both, shutter speed and aperture automatically. This means the user only had to focus. For photographers desiring a bit more control, the full manual mode was also available. As the AE-1 Program was one of the first cameras offering program mode, it became a bestseller in no time and made its way into many households.
Since the AE-1 Program was so popular it is easily available on eBay or other websites. If you’re lucky you can still find one in your parents’ or grandparents’ basement. The AE-1 Program is a camera often recommended for beginners or photography students, as it’s easy to use and widely accessible.
Camera Features
The Camera Modes
The AE-1 Program offers 3 different modes, when set to “Program” it will automatically set shutter speed and aperture, this will allow you to solely concentrate on the subject. It is also great to just take some quick snapshots. In order to use this mode, you will have to set your FD lens to “A” and your shutter speed to “Program”.
When set to shutter priority mode, the camera will set the aperture based on the shutter speed you have selected. To use it you need to set your FD lens to “A” and manually select the desired shutter speed. This makes it easy to control movement, for example, when you quickly want to freeze a moving object without blur.
The third option is to set the camera to manual mode, meaning aperture and shutter need to be set by hand. This way you have the most control over the outcome of the picture.
Shutter and Camera Lock
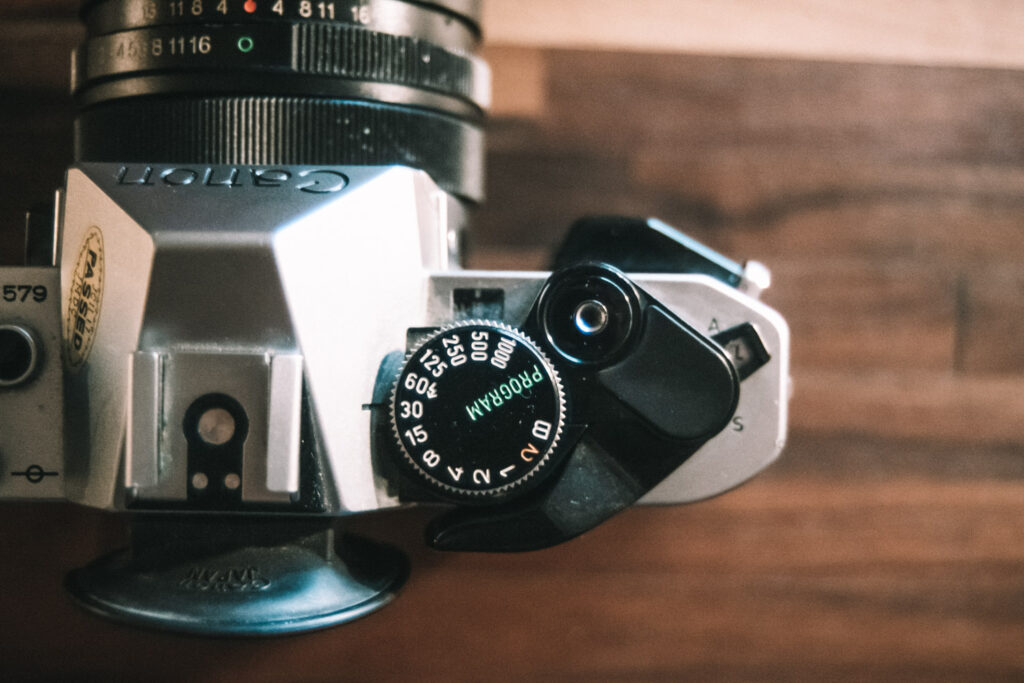
The switch next to the shutter release lets you set three different modes, “A”, “L” and “S”. When set to “A” the camera is turned on and you’re ready to take pictures. “L” stands for “Locked” and means the camera will not fire in this mode. This is useful when putting your camera into a bag or while traveling and it prevents you from accidentally firing and wasting film. The battery should last a minimum of 1 year according to Canon. However I already left my AE-1P on “A” for more than one year and the battery is still fine, so battery drainage shouldn’t be a problem.. The last mode “S” stands for “Self-Timer”. After pressing the shutter button a 10-second timer starts. This mode is great for group photos or long exposures on a tripod.
The shutter speed is controlled by the dial on the top right side of the camera. It ranges from 2 seconds to 1/1000 of a second. On the same dial you can also find a “B” for Bulb mode, in this mode, the shutter stays open as long as the shutter button is held down. In order to use it and not get a blurry picture, you will need a shutter release cable and a tripod. The last setting on the shutter speed dial is “Program”, as explained earlier this will automatically set the shutter speed and aperture.
Auto Exposure Lock & Exposure Preview
The exposure preview switch basically functions the same way as half-pressing your shutter.
The AE lock switch is pretty useful when shooting in Program mode. It allows you to set the exposure on a specific part of your image. A very nice feature when having lots of backlight in your frame.
The Finder
The AE1Ps finder is bright, sharp, and clear, it is also very big which makes focusing a lot easier. It uses a split micro prism to help you with focusing. The subject will be split into two parts when it’s out of focus and turning the focus ring in the right direction will match both levels and you can be sure that everything is in focus.
Canon also offers 7 different exchangeable focusing screens in case you don’t like the split micro prism.
Depth of Field Preview
When looking through the viewfinder of your camera, the image you see is with an open aperture. It only stops down when actually taking a picture. This means when you want to check for the actual DOF of your end result, you need to use the DOF stop-down lever. Flip the lever up and push it in in order to stop down to your actual aperture.
In order to work properly you need to advance the film first and always use a manual aperture and not the “A” setting on the lens.
ISO Range & Battery Check
The ISO on this camera ranges from 12 to 3.200 which covers the needs of most photographers. On top of the speed setting lever, we can also find the film rewind knob, push the button on the bottom and start to rewind until finished. In order to open the case, you will have to pull the lever up. Next to the rewind lever, the battery check indicator is positioned, you can use it to check the battery condition. Just keep it pressed and if it beeps very fast the battery is still fine. The slower the beep the emptier the battery.
Pros & Cons

Pros
- Widely available, most repair centers know how to deal with these cameras, the price is reasonable
- Great and budget friendly Canon FD lenses available, also a breeze to use on your DSLM with adapter (best to start with: FD 50mm f/1.4)
- Great to learn, it offers program mode, shutter priority mode, manual mode
- Beginner friendly as a easily understandable light meter is directly included into the view finder
- Useful electronic features which already helped to introduce lots of new customers to SLRs back when the AE1P was introduced (DOF Check, Self-timer, Battery Check)
Cons
- Film door foam rubbers are known to fail very quickly causing light leaks
- Lubrication of the aperture control gears is known to dry up and cause squeaking
- The AE1P features lots of plastic which already caused critisicsm when it was introduced
Final Thoughts
Overall the Canon AE-1 Program is a great and stylish camera, well suited for beginners and it was also the first SLR I ever shot. Having all the different electronic features is great when starting out and it’s no wonder that it is still known as the camera introducing SLR photography to many families and customers due to its simple controls and automated shooting modes.