The washing process plays a crucial role in film development, and yet, it’s often overlooked. Once your film has been stabilized or “fixed” with the help of fixing agents, washing it properly becomes an essential step. But why is it so important? If your film isn’t adequately washed, residues from the fixer bath remain within the emulsion. Over time, these residues can cause your film to slowly fade and potentially destroy it.
This guide will introduce you to the Ilford Method, a popular and efficient technique for washing film. Known for its speed and water conservation, the Ilford Method can help you extend the life of your film. Let’s get started.
Exploring Film Washing Methods: Continuous Water Exchange vs. Multiple Water Exchanges
There are two main ways to wash film: continuous water exchange (the classic method) and multiple water exchanges. Let’s delve into each one:
- Continuous Water Exchange (The Classic Method): Here, the negative is surrounded by running water on all sides. It’s quite time-consuming, often requiring 30 to 60 minutes. Consequently, this method consumes a considerable amount of water. However, using special film washing hoses like the Paterson Film Washer Hose can reduce both the time and water consumed.
- Multiple Water Exchanges (The Ilford Method): This method is a favorite among photographers due to its speed, efficiency, and minimal water usage. Used for achieving archival-quality film, with minimal water and time consumption, the Ilford method will be our primary focus in this guide.
The process of the Ilford-Method
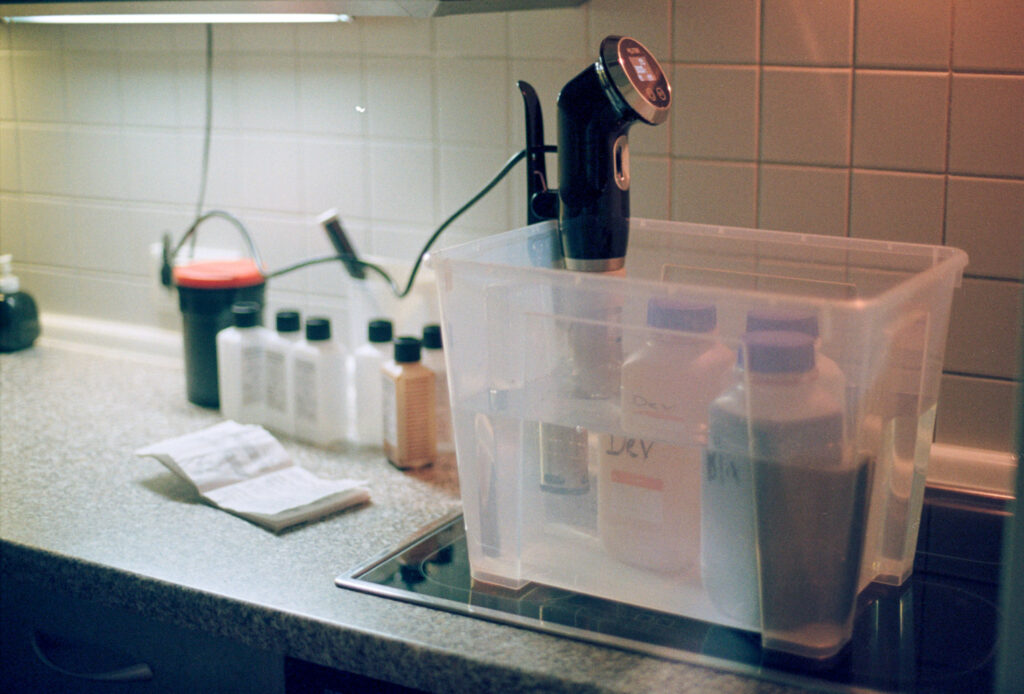
The Ilford method itself is relatively simple in practice. Fresh water is filled into the developer can in several runs, followed by a certain number of inverting processes, then the next water change. The water temperature should roughly correspond to the temperature of the previously filled fixative so that a constant temperature level is maintained. If the temperature deviations are too large, “wrinkle grain” can appear, and many hairline cracks appear in the gelatine layer. Even with relatively big (unwanted) deviations, I haven’t had the problem yet, it also depends to a large extent on the film used.
There are a couple of variants of the Ilford method. Let’s start with the one originally described in Ilford’s datasheets:
- Fill the can with fresh water, invert 5 times, then empty.
- Refill the can with fresh water, invert 10 times, then empty.
- Refill the can with fresh water again, invert 20 times, then empty.
There’s also an alternate technique, which is often described and used:
- Fill the can with fresh water, invert 3 times, then empty.
- Refill the can with fresh water, invert 6 times, then empty.
- Refill the can again, invert 12 times, then empty.
- Refill the can one more time, invert 24 times, then empty.
Following either of these techniques will result in well-washed, archival films with minimal water consumption.
Variations and what to look out for
Many photographers passionate about analog photography extend or modify the Ilford method when developing film at home. They usually add extra inverting processes and water changes, or they might leave the developer tank still for a while. While pausing for a few minutes doesn’t harm, washing for too long can compromise the archival strength and film stability. However, keep in mind, the more you complicate the film washing process, the more you stray from the original purpose of the Ilford method: to save time and water in film development.
Most importantly, the time of the film in the water increases with each water change. The average freshly fixed negative already loses half of its chemical residues during the first inverting with fresh water. With each water change, the diffusion, i.e. the exchange between water and chemical residues, takes longer, which is why the inverting time is extended with each process until the majority of the fixing agent has been washed away at the end.
After watering
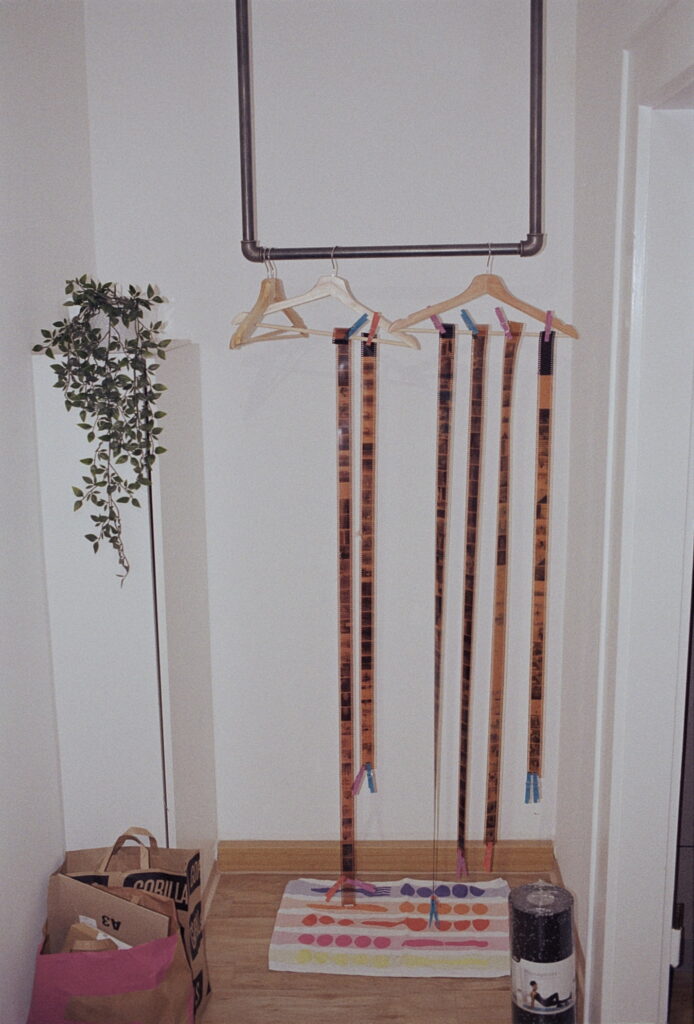
After washing, the water adheres to the film surface and forms small droplets. Before the negatives can be scanned or used further, they must first be completely dried. The best way to do this is to hang it up in a dust-free room. The moist gelatine layer is extremely susceptible to scratches and dust particles can easily settle, a proven place to dry therefore is the shower stall. Due to the relatively high-humidity environment, the film is well protected from dust.
Remember, the quality of your water can impact the final appearance of your film. If you find streaks or water residue forming during drying, consider using distilled water and a wetting agent. Just a small drop can help break the surface tension, ensuring the water runs off streak-free. I’ve had success with Ilford Ilfotol or Kodak Photo Flo, but any wetting agent will do. Plus, even a budget-friendly bottle could serve you well for the next decade.
For those looking to economize further, dish soap can be an alternative. But remember to check its composition carefully; certain additives might affect your final result. By implementing the Ilford method in your film development process, you’re not only ensuring the longevity of your films but also contributing to water conservation. It’s a win-win!
If you found this guide helpful or have any further questions about film washing or analog photography, feel free to leave a comment below. Happy developing!