Every analogue film camera, no matter how robustly built, eventually requires its light seals to be replaced. My Canon AE-1 Program is a perfect case in point. After roughly 40 years of loyal service, it was finally time to renew these vital components. Camera seals often start deteriorating, turning into a sticky mess or crumbling away after about two decades. If you’ve noticed this happening to your camera, or if you’re just after a quick fix, you could simply tape over the affected areas. The last rolls of film I developed showcased the classic signs of worn-out light seals: bright, reddish light spots consistently appearing in the same places.

So here’s a comprehensive guide to replacing light seals in your Canon AE-1 Program, ensuring that your beloved camera keeps capturing stunning photographs for years to come.
What You Need
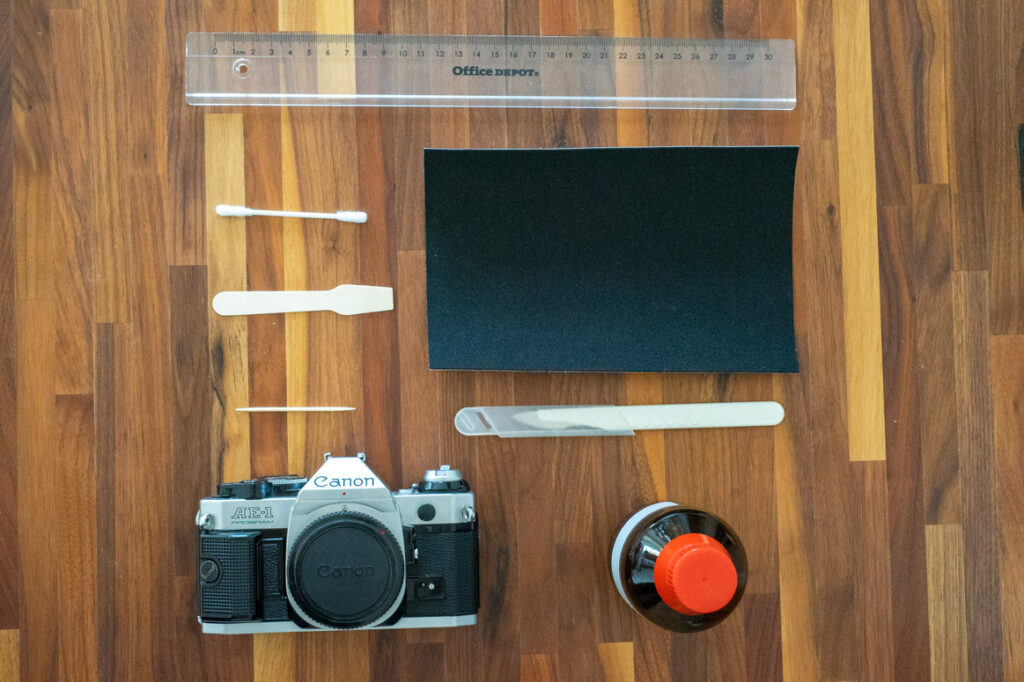
Replacing light seals requires patience, roughly one to two hours of time, and the following supplies:
- Q-tips
- Toothpicks
- Cleaning alcohol, lighter fluid, or similar
- New seals – either pre-cut or a sheet
- If your seals aren’t pre-cut, you’ll also need:
While pre-cut seal kits are available for most camera models, it’s often more cost-effective and gratifying to cut the seals yourself. For the price of one pre-cut kit, you can replace the seals on nearly 10 cameras.
The recommended material for the seals is 1-2mm thick self-adhesive EPDM cellular rubber. A 200x300mm sheet will be ample for several replacements. These sheets can be found online, on platforms such as eBay or Amazon.
Top Tip: When handling cleaning alcohol or lighter fluid, ensure your working area is well-ventilated, and avoid contact with eyes or skin.
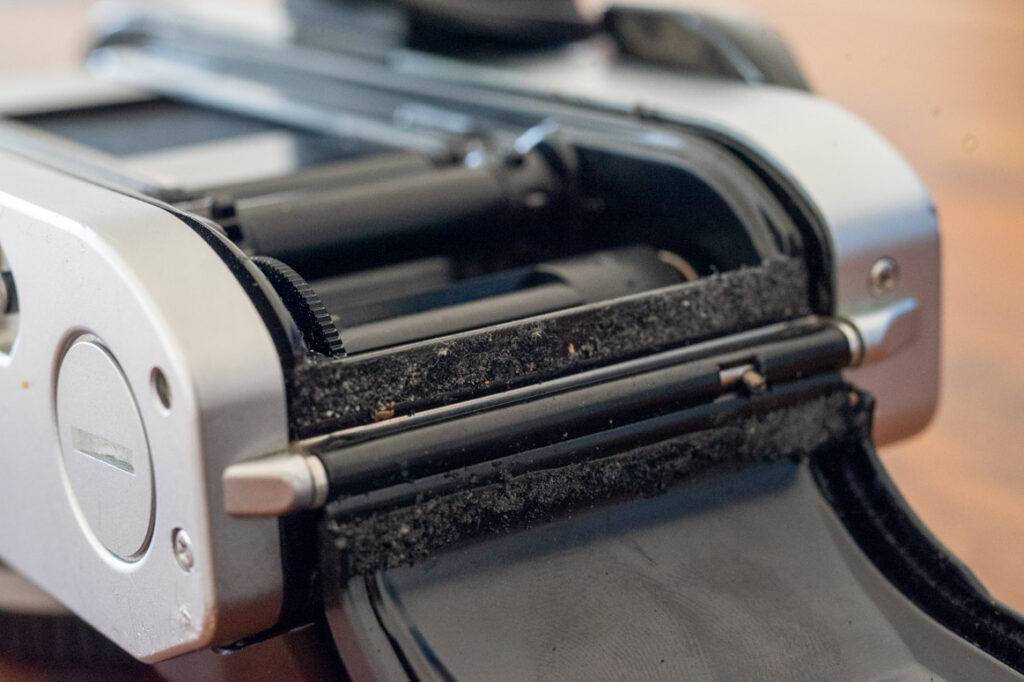
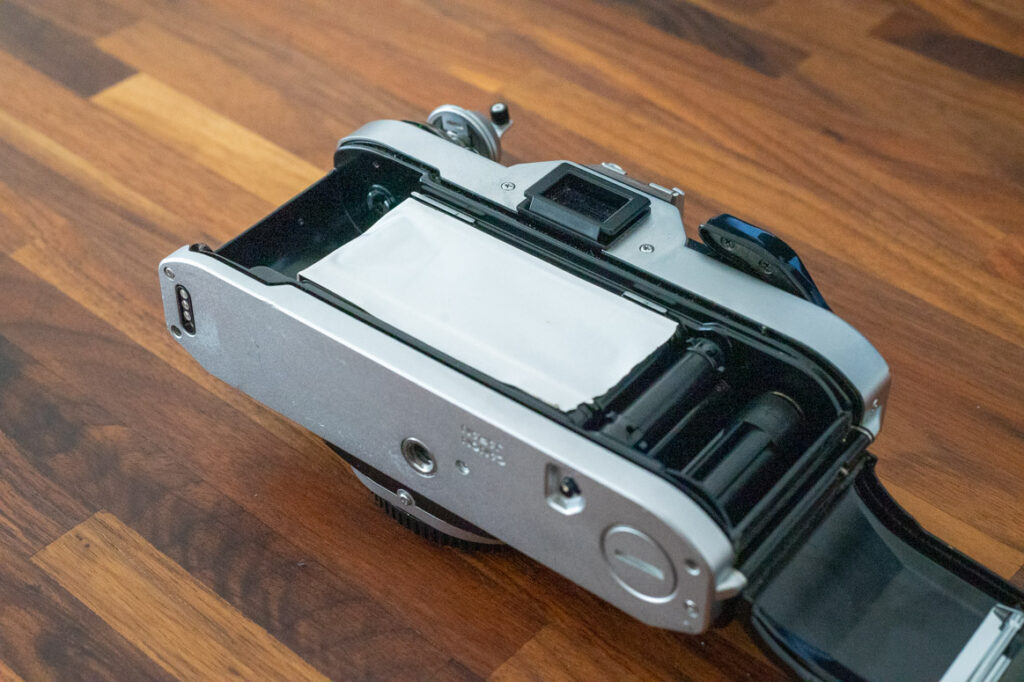
Removing the Old Seals
The first step in the process is, of course, removing the old seals. Be sure to tape over the shutter beforehand to prevent any remnants of the old seals from falling into the camera. The sticky, crumbly remnants can ruin a significant portion of your next exposures.
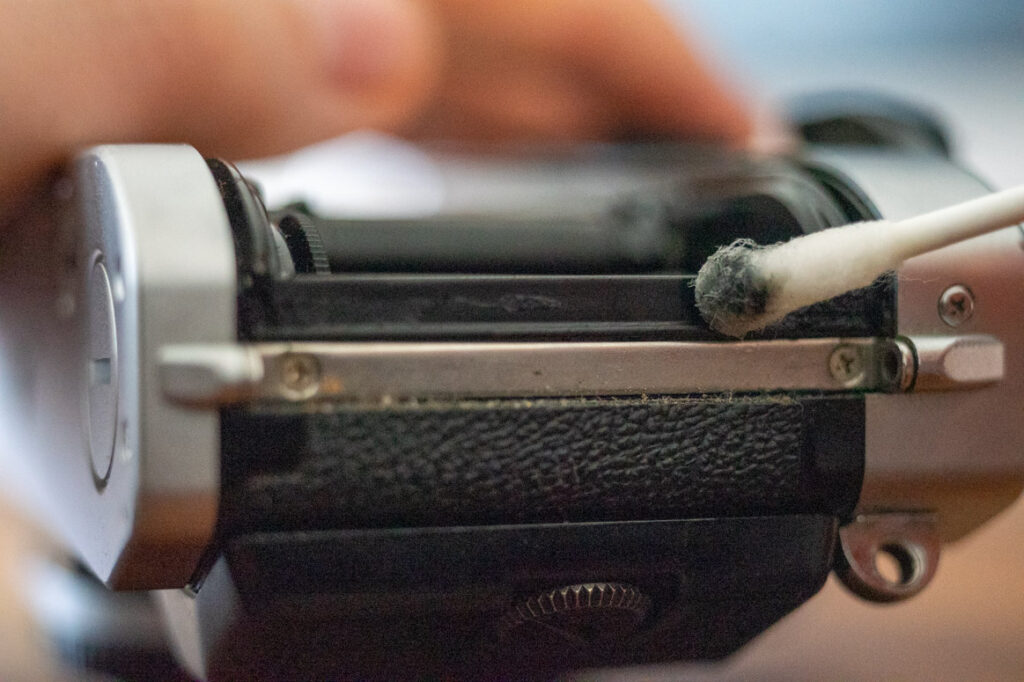
Using a toothpick, carefully remove all traces of the old seals and adhesive. Alternatively, a small screwdriver can be used for this task, but be extra cautious to avoid scratching your camera.
Warning: The remnants of old seals can be sticky and crumbly, posing a risk to future exposures if not properly removed.

After you’ve removed all remnants, use Q-tips and lighter fluid to clean off any residual adhesive.
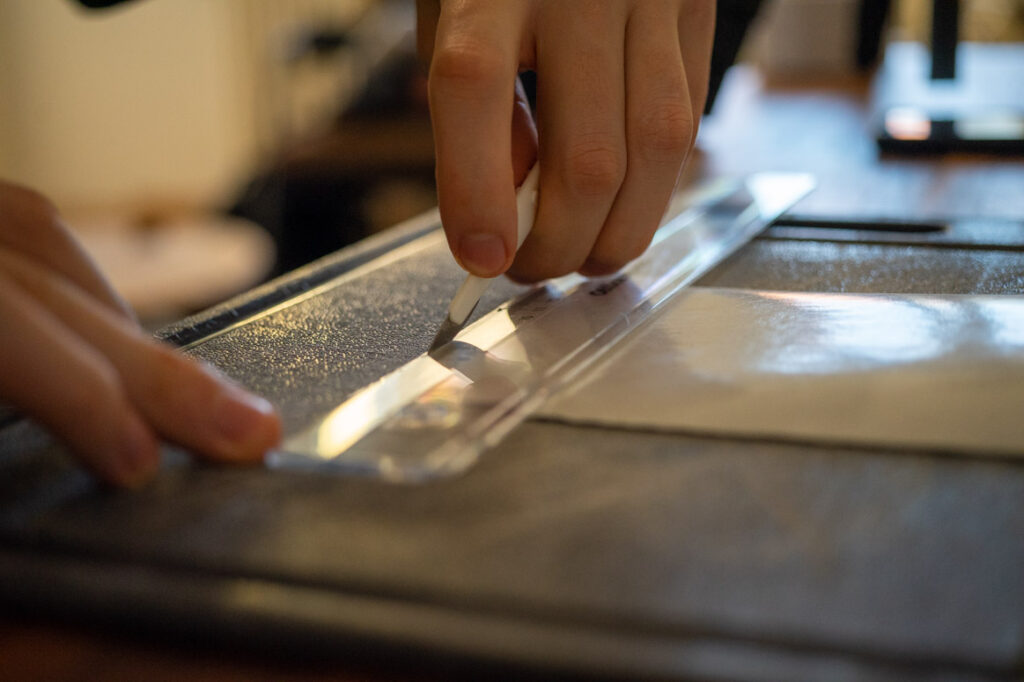
Cutting and Installing New Seals
Unless you’ve purchased a pre-cut set, the next step is to cut your new seals to fit. A utility knife or scalpel is ideal for this task; scissors, however, are less effective. Begin by using a ruler to measure all seals, then proceed to cut them using the knife or scalpel.
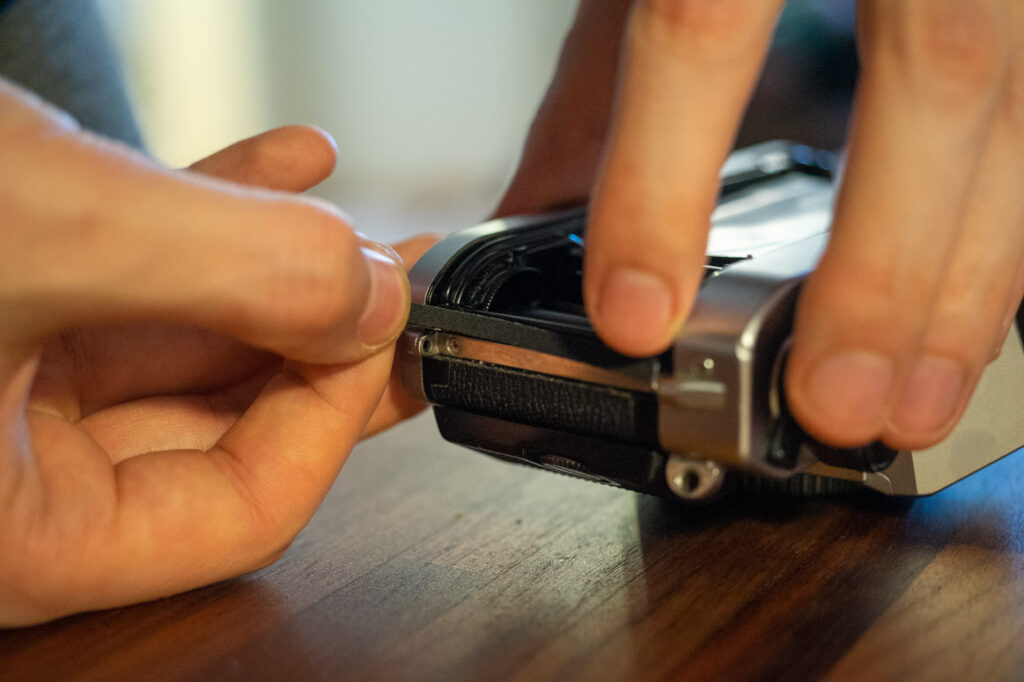
Before you adhere the seals permanently, it’s advisable to do a test fit. Cut the rubber slightly longer initially, then trim it down as required. When you’re ready, remove the adhesive strip and gently affix the seal into position. For particularly narrow areas, a pair of tweezers can come in handy. It’s common for the seal to stick to the sides while being inserted. To prevent this, apply a thin coating of alcohol or lighter fluid to the adhesive surface. The fluid will evaporate after a short while, leaving the seal properly adhered.
Troubleshooting: If the new seals don’t stick well, ensure all adhesive remnants have been completely removed and that the surface is clean and dry.
After installing the seals and closing the camera, you may feel some resistance. Don’t worry, this is normal. The EPDM rubber will adapt to the space over time, and your camera should be light-tight once again.
Conclusion
Replacing the light seals in your Canon AE-1 Program can be a rewarding, cost-effective, and beneficial exercise. By following this guide and using the right tools, you can extend the life of your cherished analogue film camera, ensuring it continues to capture superb images for many more years. Whether you’re new to camera repair or an experienced hand, this guide provides you with a straightforward process to rejuvenate your AE-1 Program, helping keep your precious memories alive and your passion for photography burning bright.